Setting NAO‘s WiFi connection
Why setting a WiFi connection
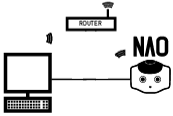
You can connect NAO to your computer using a wired or WiFi connection:
- Wired connection is mandatory for the initial settings.
- WiFi connection is highly recommended as soon as NAO starts moving.
Warning
Make sure NAO is not connected with an Ethernet cable while executing movements which could pull the wire and damage the port.
WiFi connection
| Step | Action |
|---|---|
| Remove the hatch behind the head of the robot to access to the Ethernet socket. | |
Plug an Ethernet cable. 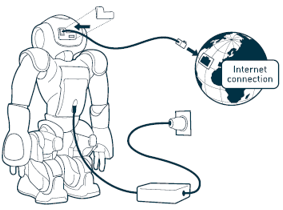
|
|
Connect the Ethernet cable to your Internet box. For further details, see: Plugging my robot to Ethernet. |
|
On a computer, launch Robot Settings. For further details, see: Accessing to Robot Settings. |
|
| In the Wi-Fi Management page, choose and configure a WiFi network. |
Result: the WiFi connection is set, you can now disconnect the Ethernet cable and close the hatch behind the head of the robot.
To choose and configure one of the displayed WiFi networks, see: Standard WiFi connection.
Specific cases
| If you ... | See ... |
|---|---|
| must use a hidden network | WiFi connection to a hidden network |
| need to configure the MAC address filtering of your WiFi access point | Network information |
Standard WiFi connection
| Step | Action |
|---|---|
Select one of the available WiFi networks. Note: choose a WiFi network having one of the Supported personal securities. |
|
Complete the required parameters, and click the Connect button. 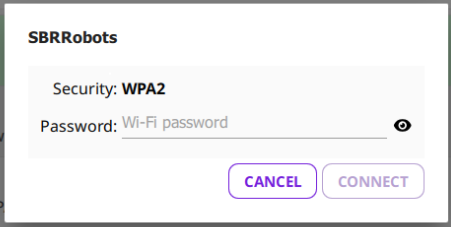
|
Supported personal securities
NAO supports WEP, WPA & WPA 2 personal securities.
Note
For WEP only the passphrase of 5 characters for WEP40 and 12 characters for WEP104 are supported, always prefer the hexadecimal representation which is the only standard.
Network information
To display the Network information:
| Step | Action |
|---|---|
Click the tree dots option menu 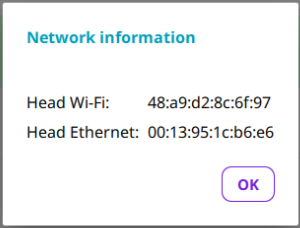
Network information displays the MAC Addresses you could need if your WiFi access point requires to set the MAC Address filtering. |
Wired connection
Warning
Make sure NAO is not connected with an Ethernet cable while executing movements which could pull the wire and damage the port.
| Step | Action |
|---|---|
| Remove the hatch behind the head of the robot to access to the Ethernet socket. | |
Plug an Ethernet cable. 
|
|
Connect the Ethernet cable to your Internet box. For further details, see: Plugging my robot to Ethernet. The Wired network appears in the list. 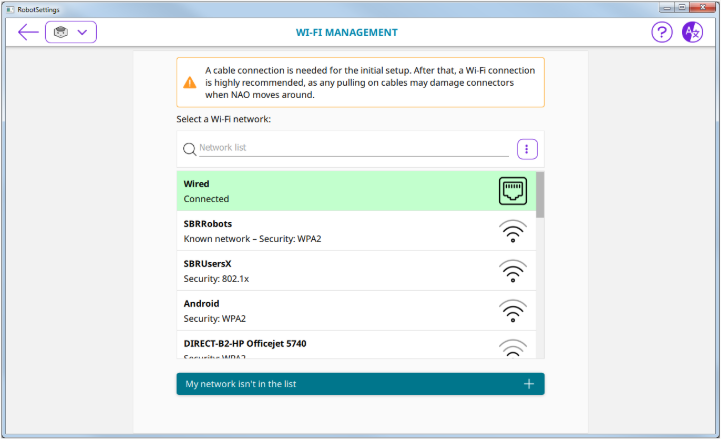
|
|
| Select the Wired network. |
Plugging my robot to Ethernet
If you have a router with a spare Ethernet port:
The router will act as a DHCP server and give NAO it’s IP address. |
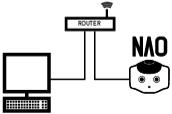 |
| Alternatives | |
If you have no spare Ethernet port or no router at all:
Linux only: see Local-Link an alternative to DHCP in order to check if your network manager is set for using link-local. |
|
| Note: in case of local connection to a computer, the SoftBank Robotics Cloud may not be reachable. Nevertheless, local connection to Robot Settings and Choregraphe is still possible. | |
Other configuration options
Local-Link an alternative to DHCP
In case of network without DHCP, it is possible to use link-local addressing. Link-Local is a standardized alternative to settings static IP address. With this feature you can obtain an address automatically, and establish a local network communication between your NAO and your computer.
If your NAO say that he got an address in the range of 169.254.X.X, the reason is haven’t discover any DHCP server and NAO has fall back to Local-Link.
Since 1.12 version you can just plug a network wire between your NAO and your PC, and obtain a communication without setting a static IP address. For MAC and Windows computer you have nothing to do to make it work, with Linux PC please verify if your network manager is set for using link-local.
How to Ubuntu and Local Link
| Step | Action |
|---|---|
On the nm-applet click on “Edit Connections...”. 
|
|
Add a new profile to connect to NAO directly. 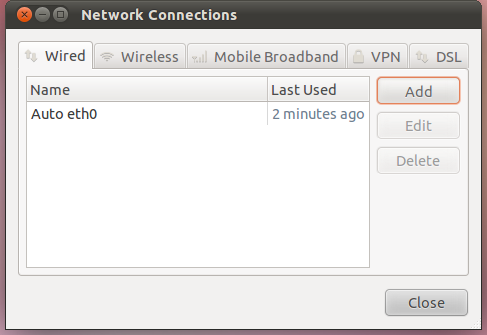
Click on Add. |
|
Choose a nice name for your configuration here “PC2NAO”. Select the tab IPv4-Settings, and change the Method to Link-Local Only. 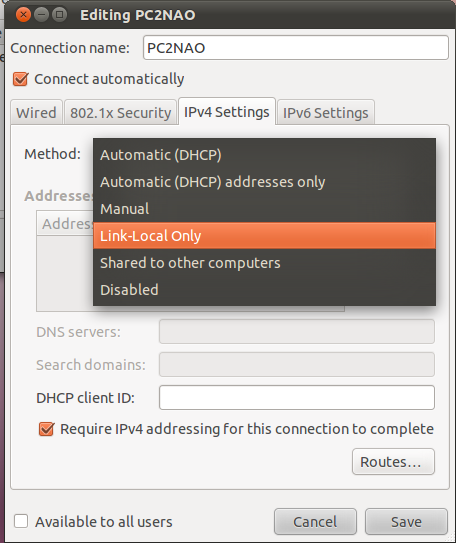
Click on Save, and close the menu. |
|
Disconnect from the previous profile. 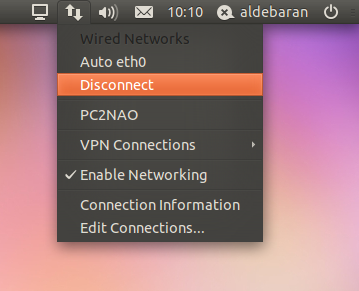
|
|
Activate the new profile here “PC2NAO”. 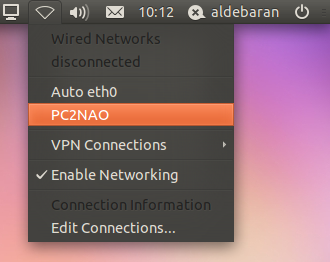
Now you can plug an Ethernet wire directly between tour computer and your NAO. |
 and select
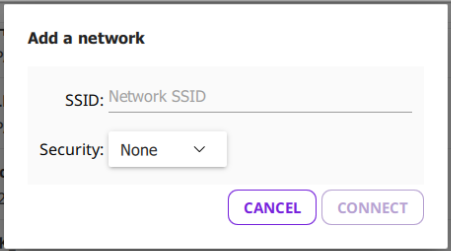
Add a Wi-Fi network.