Configuring NAO for the first time
When connecting for the first time NAO to a network, a step by step Getting started wizard guides you through key settings:
NAO - Getting started wizard
Language and software agreement
| Step | Action |
|---|---|
Choose the language. 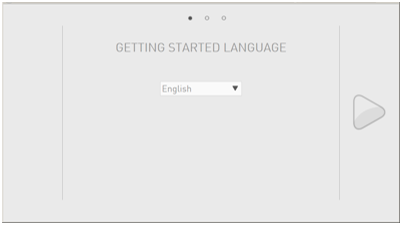
Click the |
|
Check and validate the 2 conditions of the End-user Software License Agreement. 
Click the |
 next button.
Setting WiFi connection
Specific cases
| If you ... | See ... |
|---|---|
| must use a hidden network | WiFi connection to a hidden network |
| need to configure the MAC address filtering of your WiFi accesss point | MAC Addresses |
Otherwise, follow the process below:
| Step | Action |
|---|---|
Select one of the available WiFi networks. For further details, see: Why setting a WiFi connection. 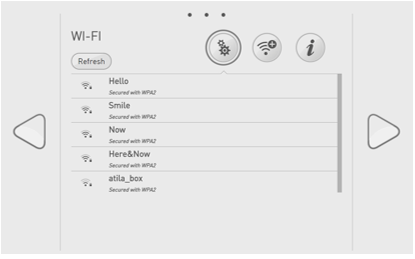
Note: choose a Wifi network having one of the Supported personal securities. |
|
Complete the required parameters. 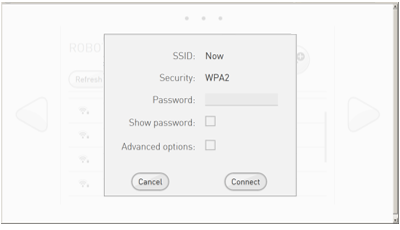
|
|
Click the Connect button. 
Once the WiFi is connected, a yellow star is displayed. 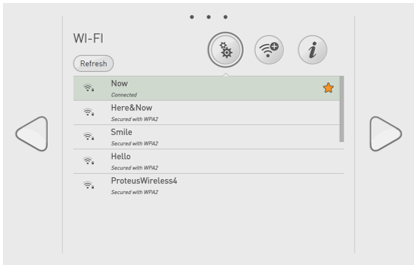
Tips: Do not remove the cable yet: the wizard requires the Ethernet connection. Click the |
Customization steps
According to the presetting of your NAO, the following setting may appears:
TimeZone
Choose a time zone. 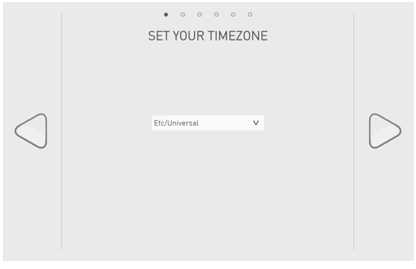
Then click the |
Password
Define a password to secure remote access to your NAO. 
Warning Keep the password! Robot’s password is mandatory to connect a computer to NAO and to Pepper Web page. Then click the |
Robot’s name
Customize the name of your NAO. This is useful if you have more than one NAO. 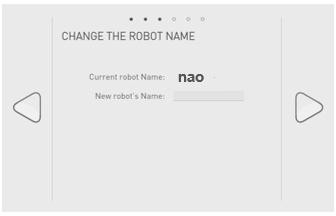
Then click the |
Aldebaran Community user account
Enter the login and password of your Aldebaran user Community Account. 
You will henceforth be able to retrieve applications and services from the Apps 2.1 Store. Then click the 
The connection to your Aldebaran user Community Account is tested. |
Diagnostic & improvement
Check and validate the automatic diagnostic report. 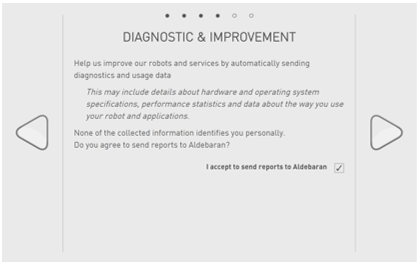
Then click the |
Application update
Click the Update all button. 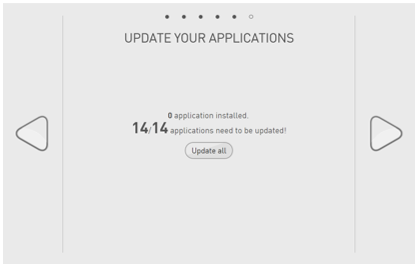
Then click the |
System upgrade
| Step | Action |
|---|---|
Click the Update now button. 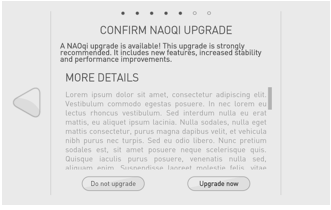
|
|
If necessary, messages guides you in order to make sure the battery charger is plugged. 
|
|
Click the Start update button. 
|
Final step
The configuration is completed when the screen below appears:
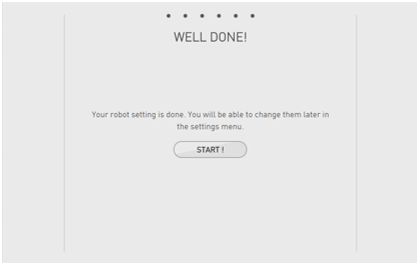
| Step | Action |
|---|---|
Click the Start! button. The NAO Web page is displayed. |
|
Start interaction with NAO. For further details see: Interacting with NAO. |
Switching to WiFi connection
| Step | Action |
|---|---|
| Remove the Ethernet cable and put back the hatch behind the head of the robot. | |
| Follow Accessing the NAO Web page to discover more settings such as Language, Volume and Time zone. |