Hello Guide
NAO comes in a box with a graphical
Hello Guide inside.
Here is a more detailed step by step:
| Step | Action |
|---|---|
 |
Get NAO out of its box, and gently set NAO in a crouching position. 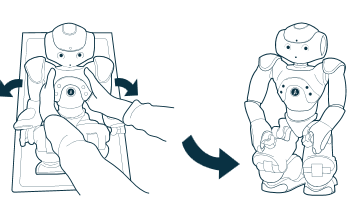
|
 |
Plug the charger to the mains, and plug the charger cable into NAO‘s back. 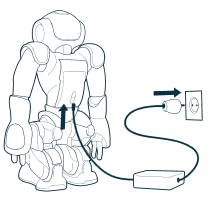
|
 |
Remove the hatch behind the head of the robot to access to the Ethernet socket and plug an Ethernet cable. 
Then connect the Ethernet cable to your Internet box. For further details, see: Plugging my robot to Ethernet. |
 |
Press the Chest button once, and wait for the completion of the boot process until the robot says “OGNAK GNOUK”. 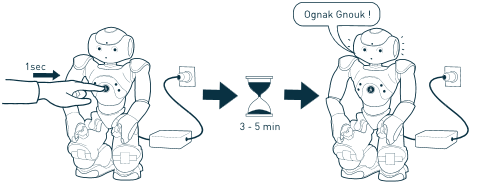
|
 |
Press the Chest button once. 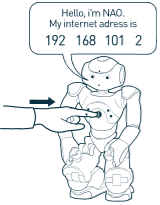
NAO says the four numbers of its IP address: note them. |
Open a web browser and enter this IP address in the address bar. 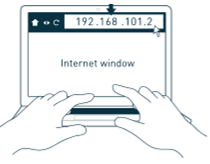
Tips: make sure you add dots between the numbers. |
|
An authentication windows appears. 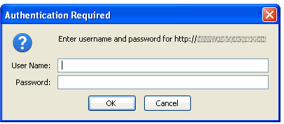
|
|
 |
Complete both User name and Password with the default value: nao. 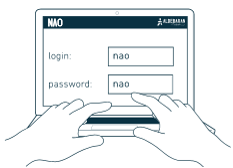
Tips: make sure you type ‘nao’ in lower-case. |
A Getting started wizard appears. 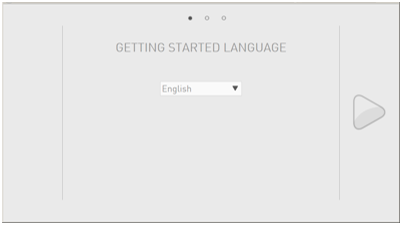
Follow its steps to configure your robot. For further details, see: Configuring NAO for the first time. |